I am sure that most of you know already that I have a Scandi Sister Becca aka @malmoandmoss and together we run Hygge for all Seasons which are Interior styling workshops held throughout the year to share our love for all things Modern Rustic and how to achieve this aesthetic in your own home. There is always one person in a relationship who is more organised, on it and productive and in ours, Becca is certainly the one! I was delighted when Becca offered to write a blog post capturing the things we talked about and shared at our last workshop in London for the Occasional Home Store where 31 of you joined us to hear and see our tips on creating a Scandi Christmas table. So here goes, my first ever guest blog post by @malmoandmoss
Christmas can be an expensive time of year with presents, parties and panto combining to mean you have taken on the national debt of Belgium by the 1st of January. I love decorating my home for Christmas but I don’t think you need to spend a fortune doing it or to invest in loads of stuff that you are going to chuck away after Santa has set off back to the North Pole. If, like me, you are operating with more of a Morrison’s than Macy’s budget then going for a Scandinavian inspired Christmas look is ideal. Our Scandinavian friends like to keep things simple and minimal and to use lots of natural foliage that you can forage from your garden or local parks under the cover of darkness.

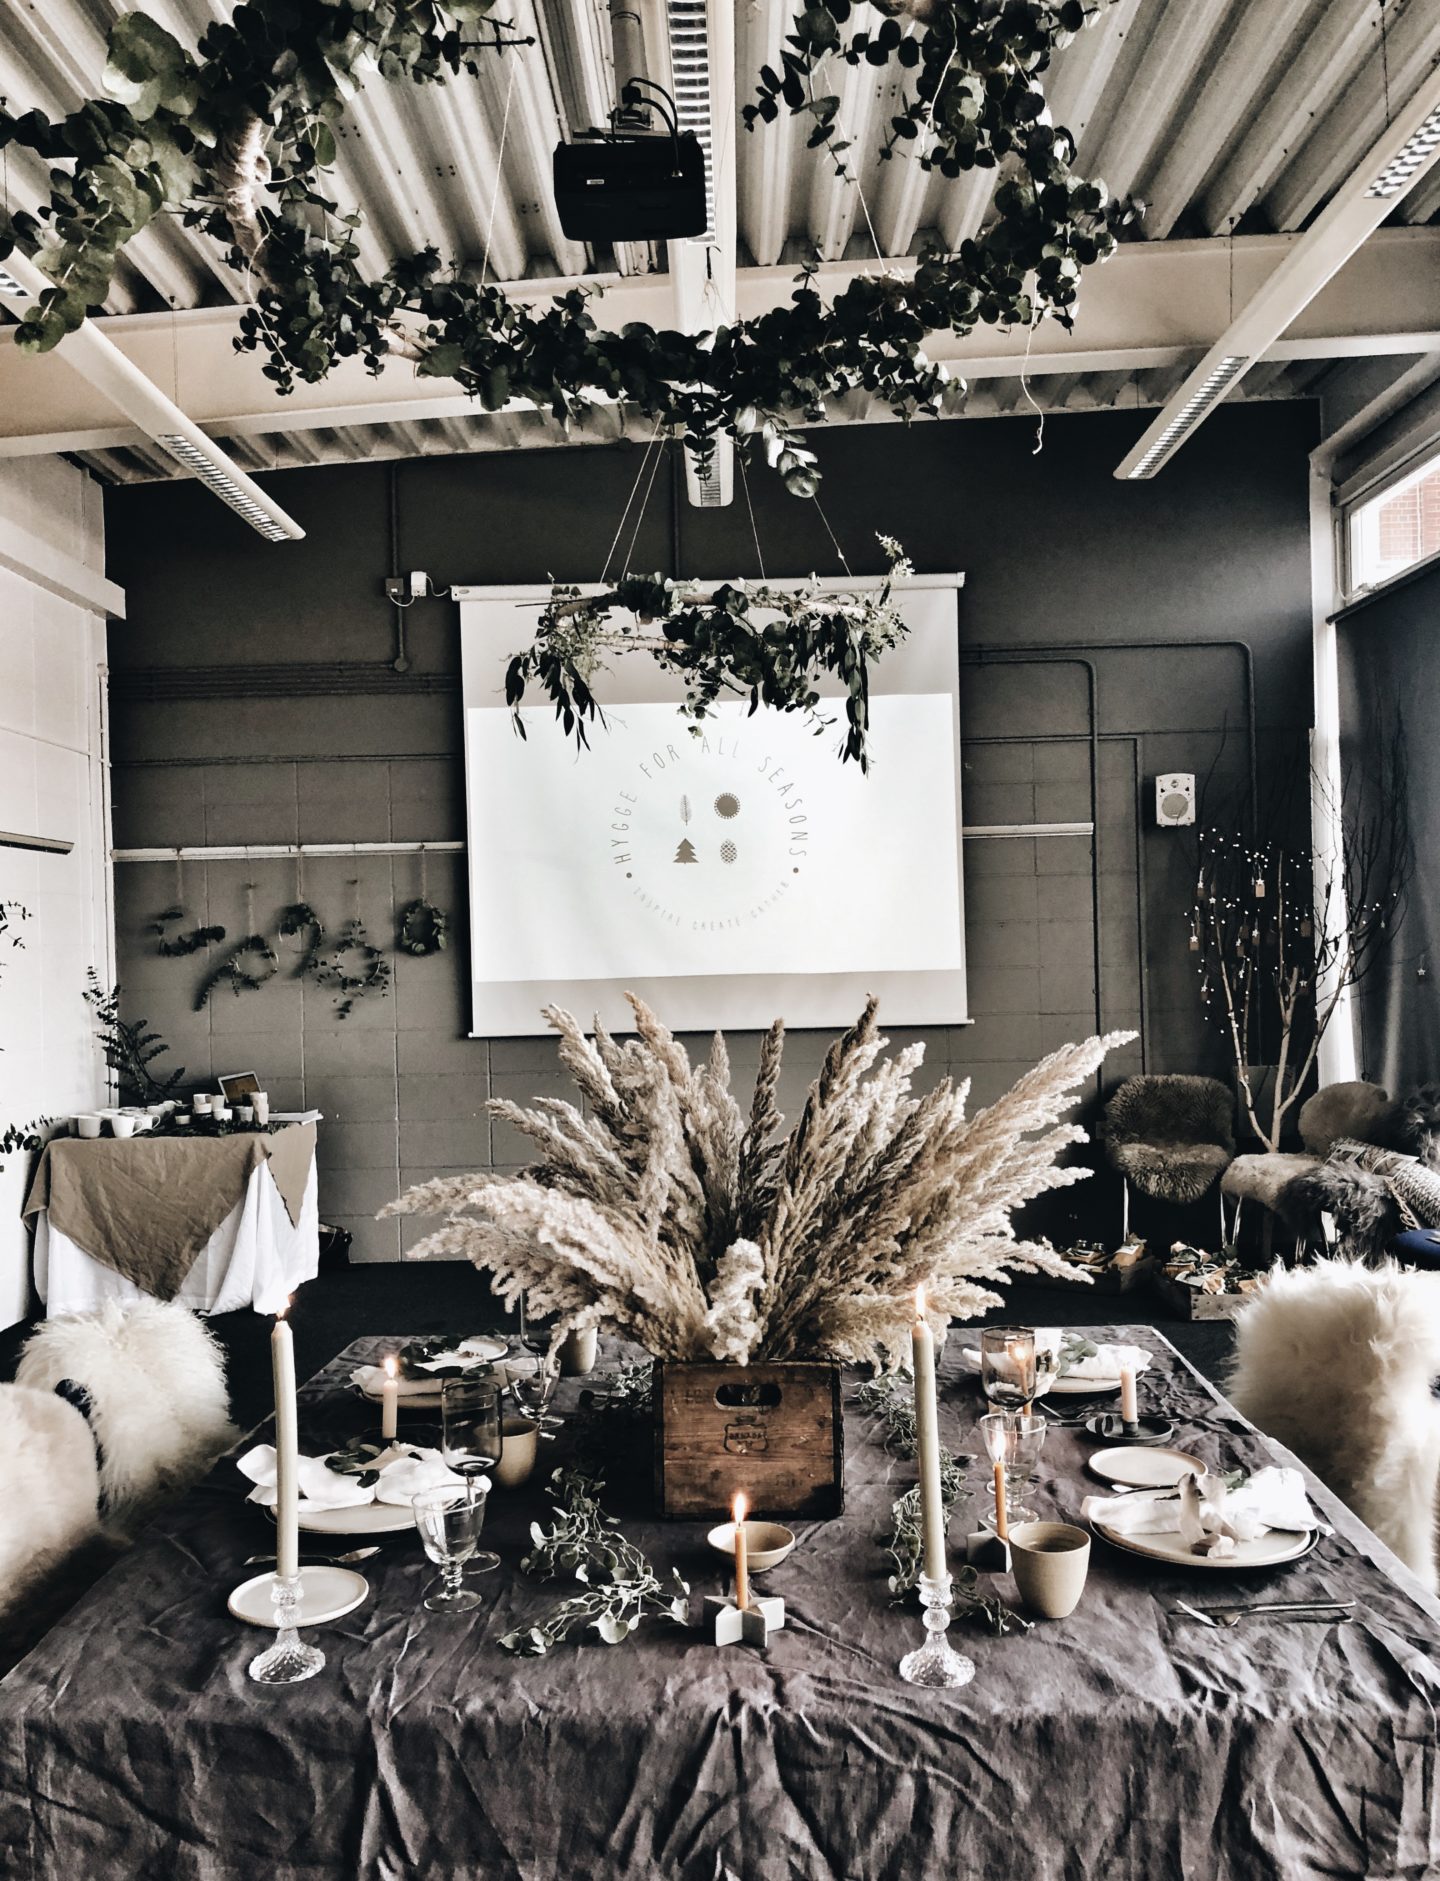
At our recent Hygge for all Seasons workshop at the Occasional Home Store, we created a Modern Rustic/Scandi inspired Christmas table scheme featuring 3 simple ideas for table decorations inspired by our favourite Nordic instagram accounts and nature. If you are not already following our inspiration accounts then you are in for a treat.


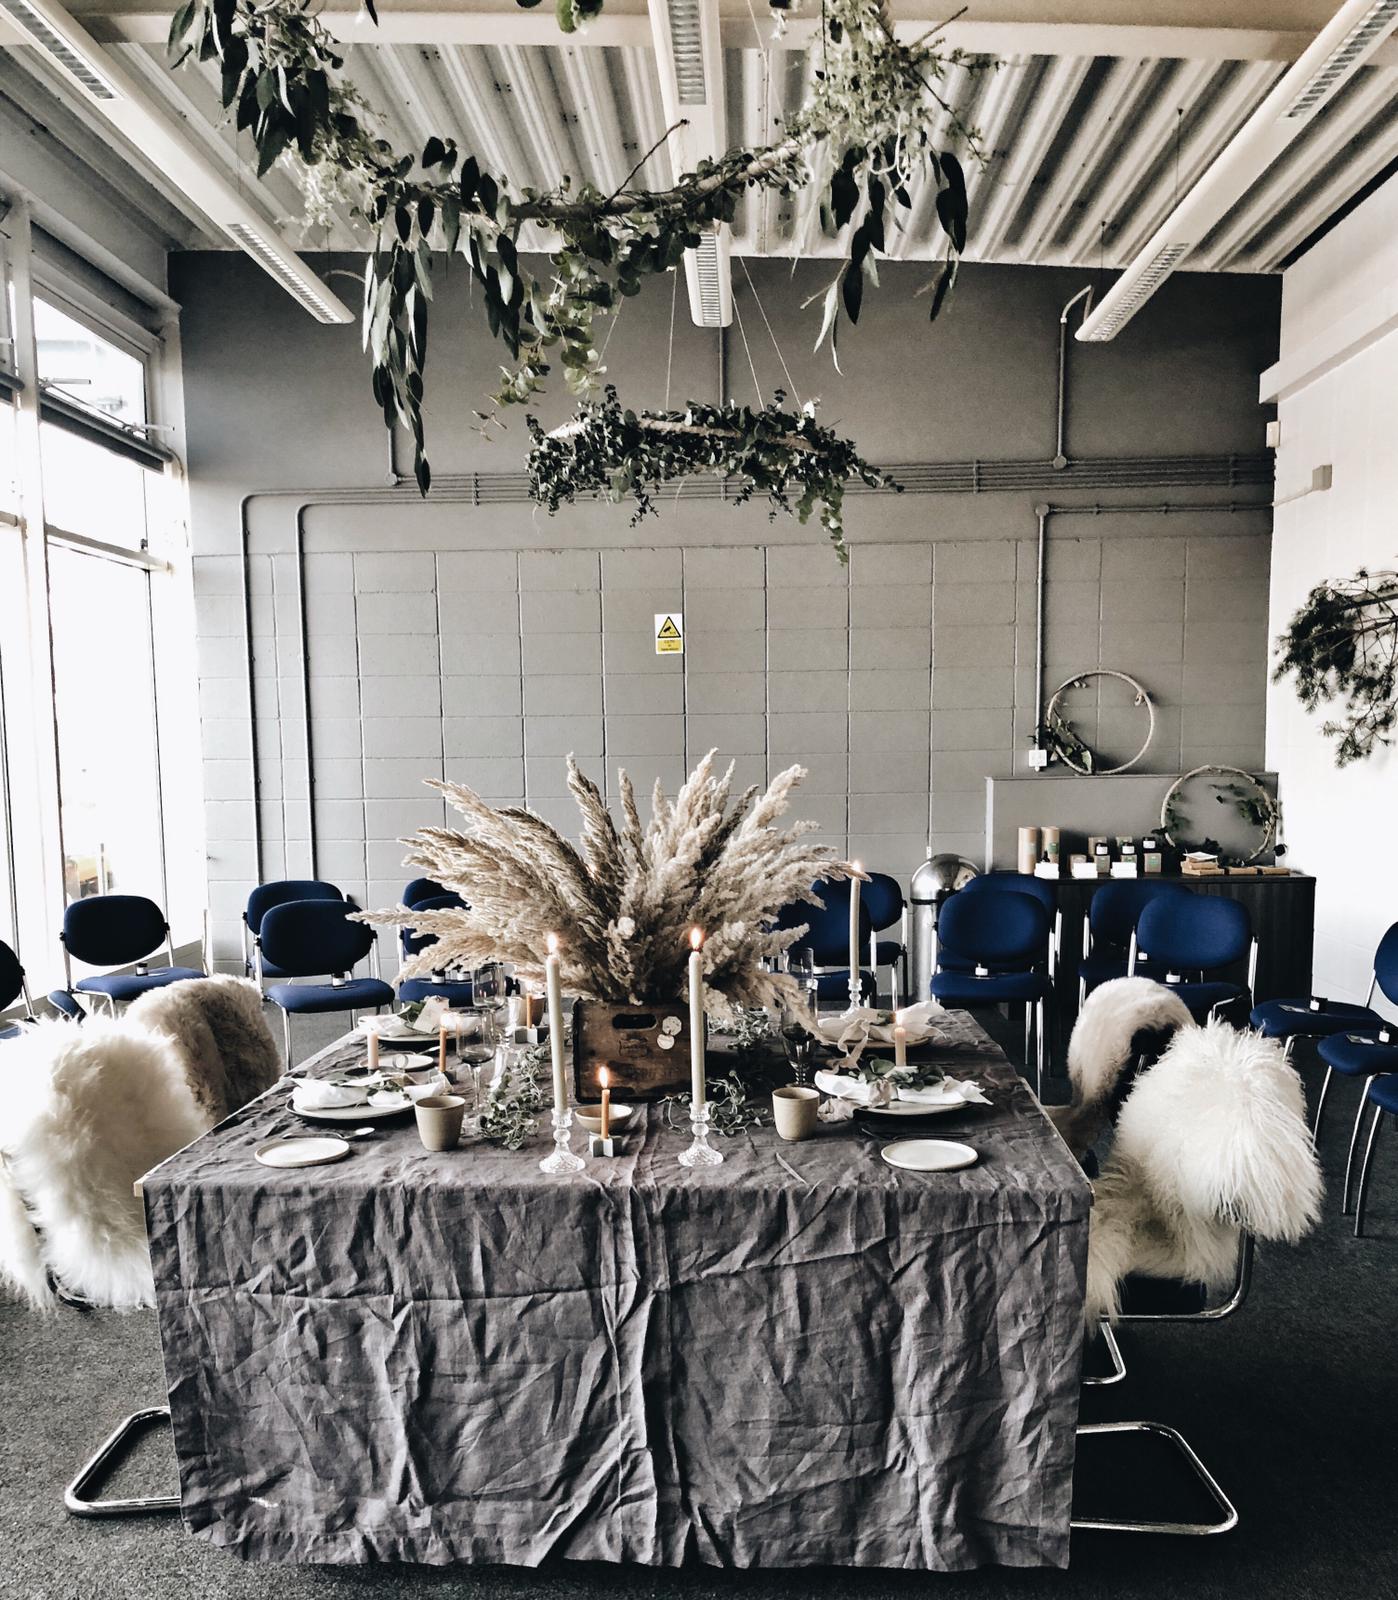
The space we were transforming for Hygge for all Seasons was a big lecture room overlooking a beautiful reservoir. It meant we were working with quite high ceilings and a bigger table than the average family would be sitting down to on the 25th December. But to show that the ideas can work in any setting I have also recreated them at home so you can see just how easy it is to do.


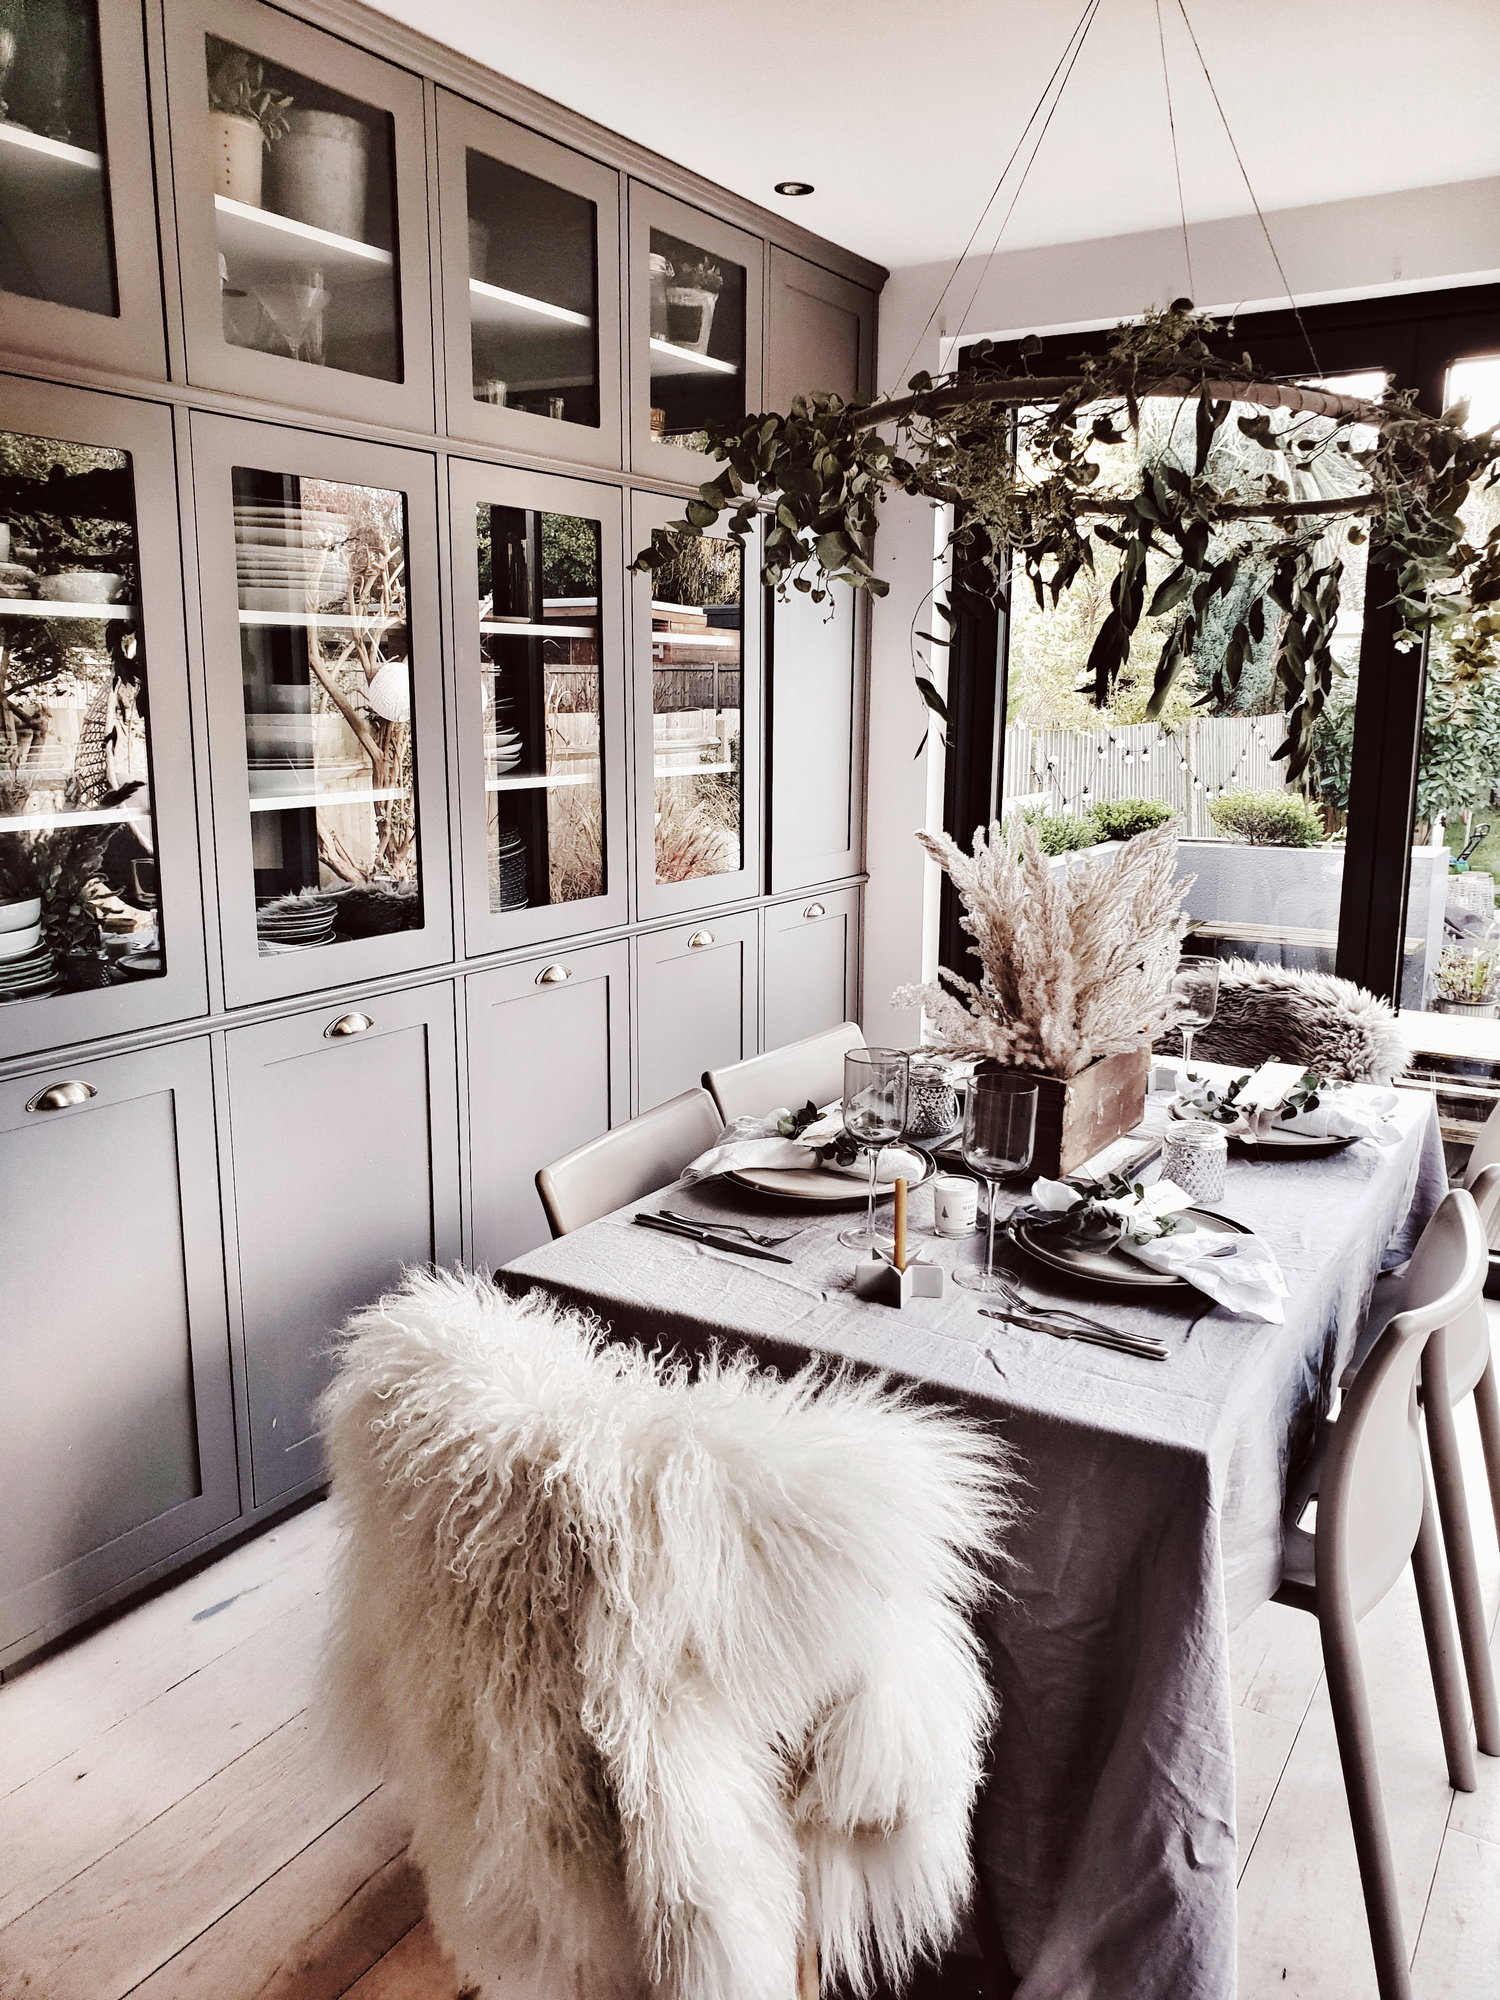
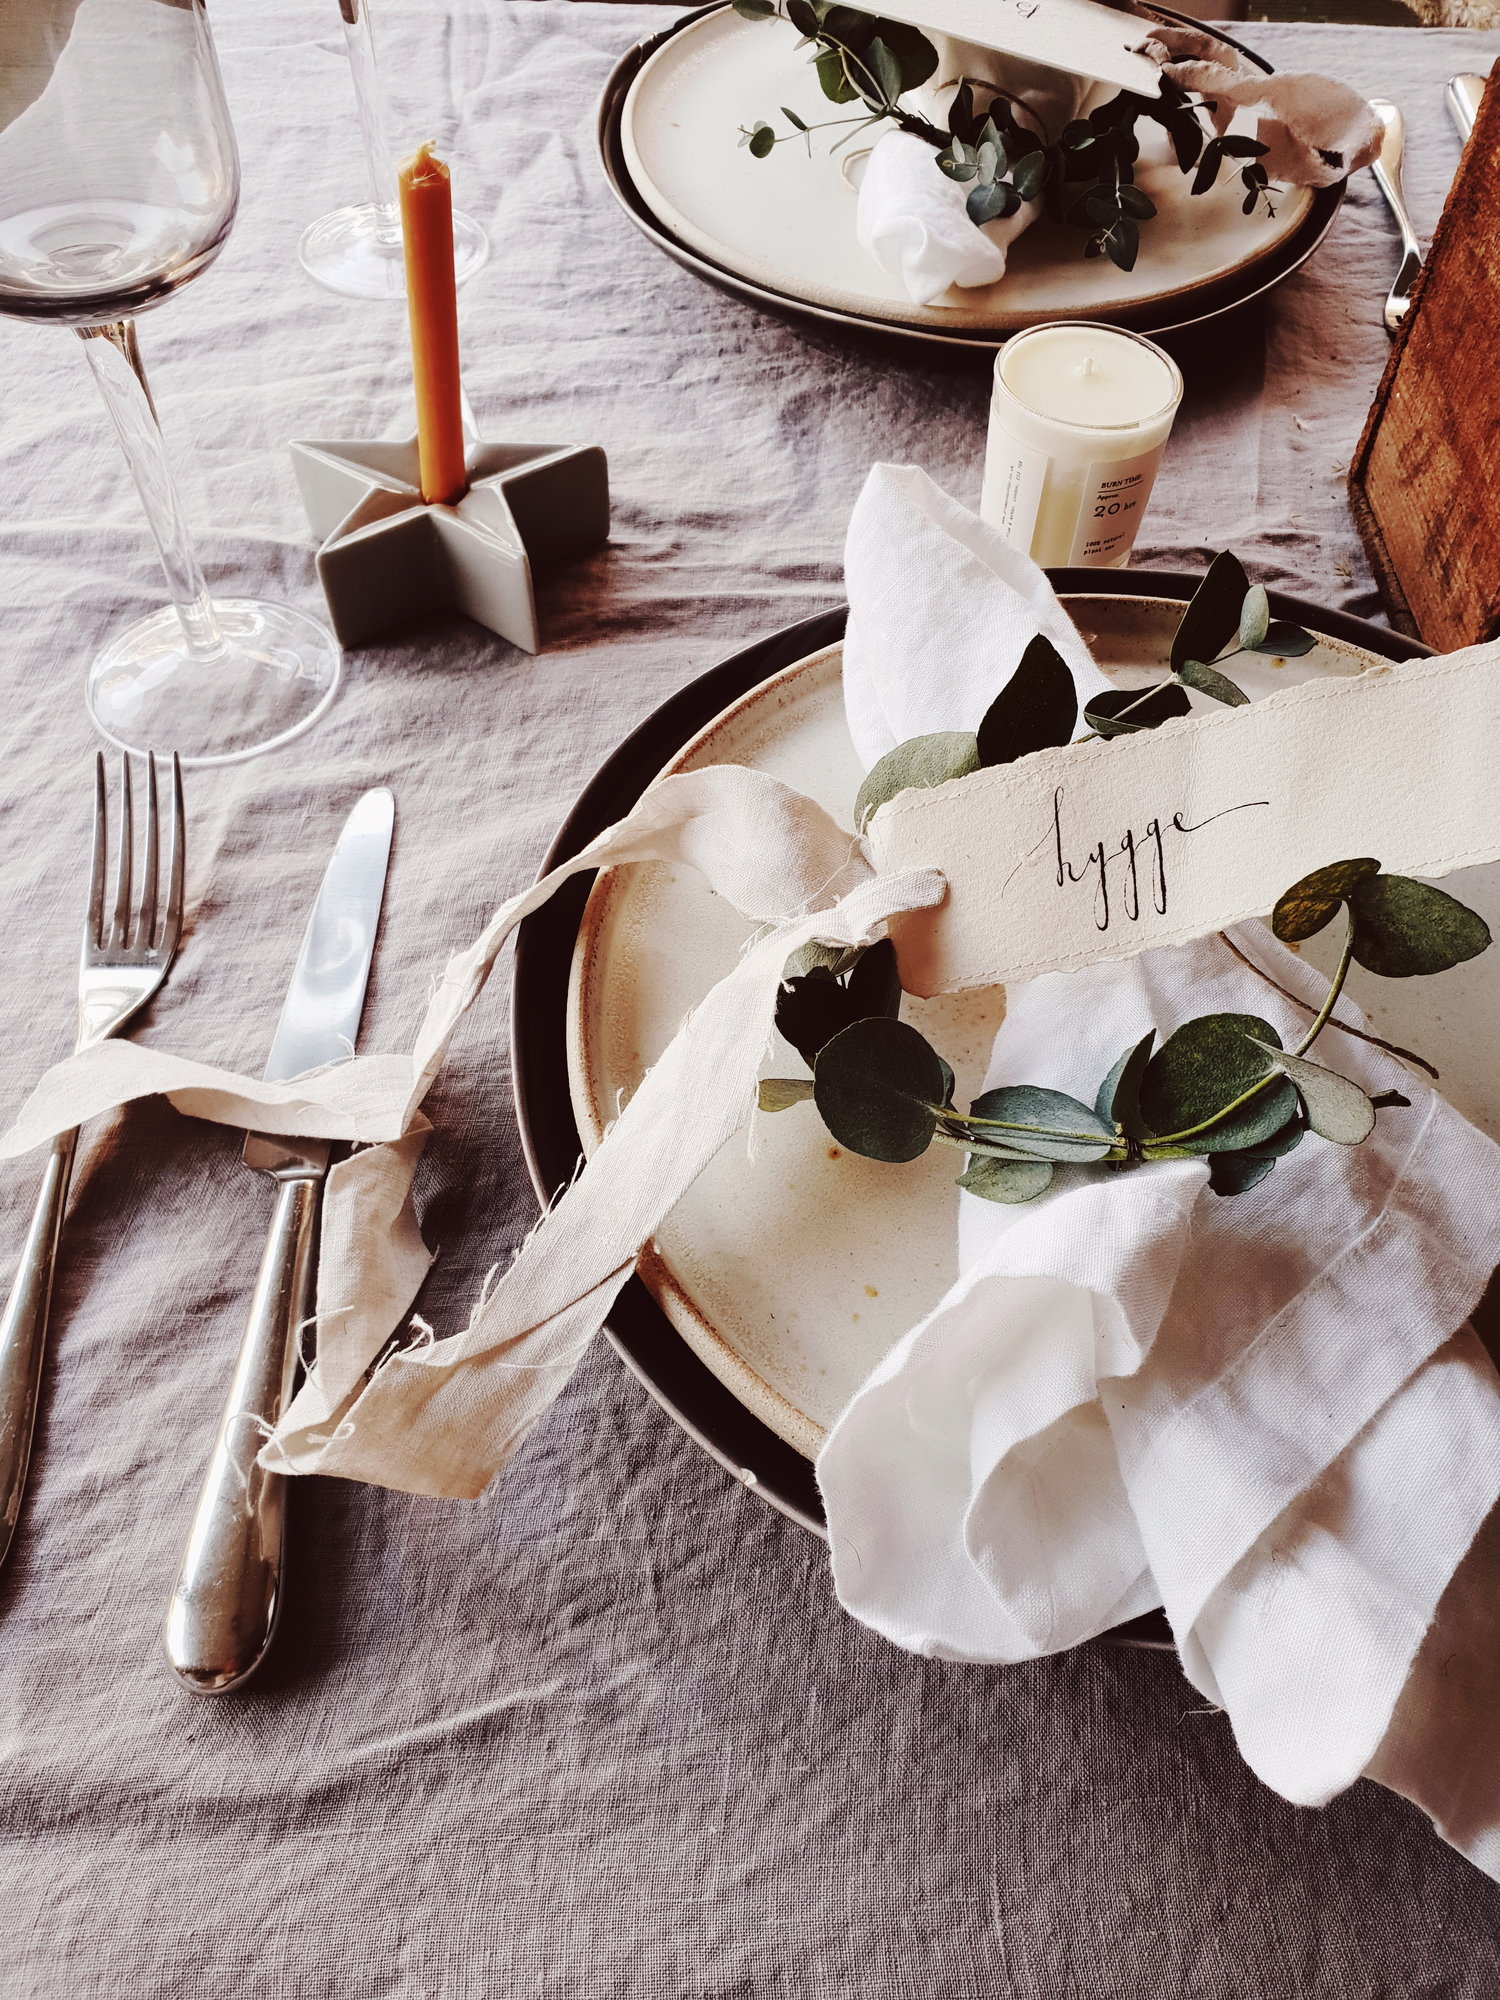
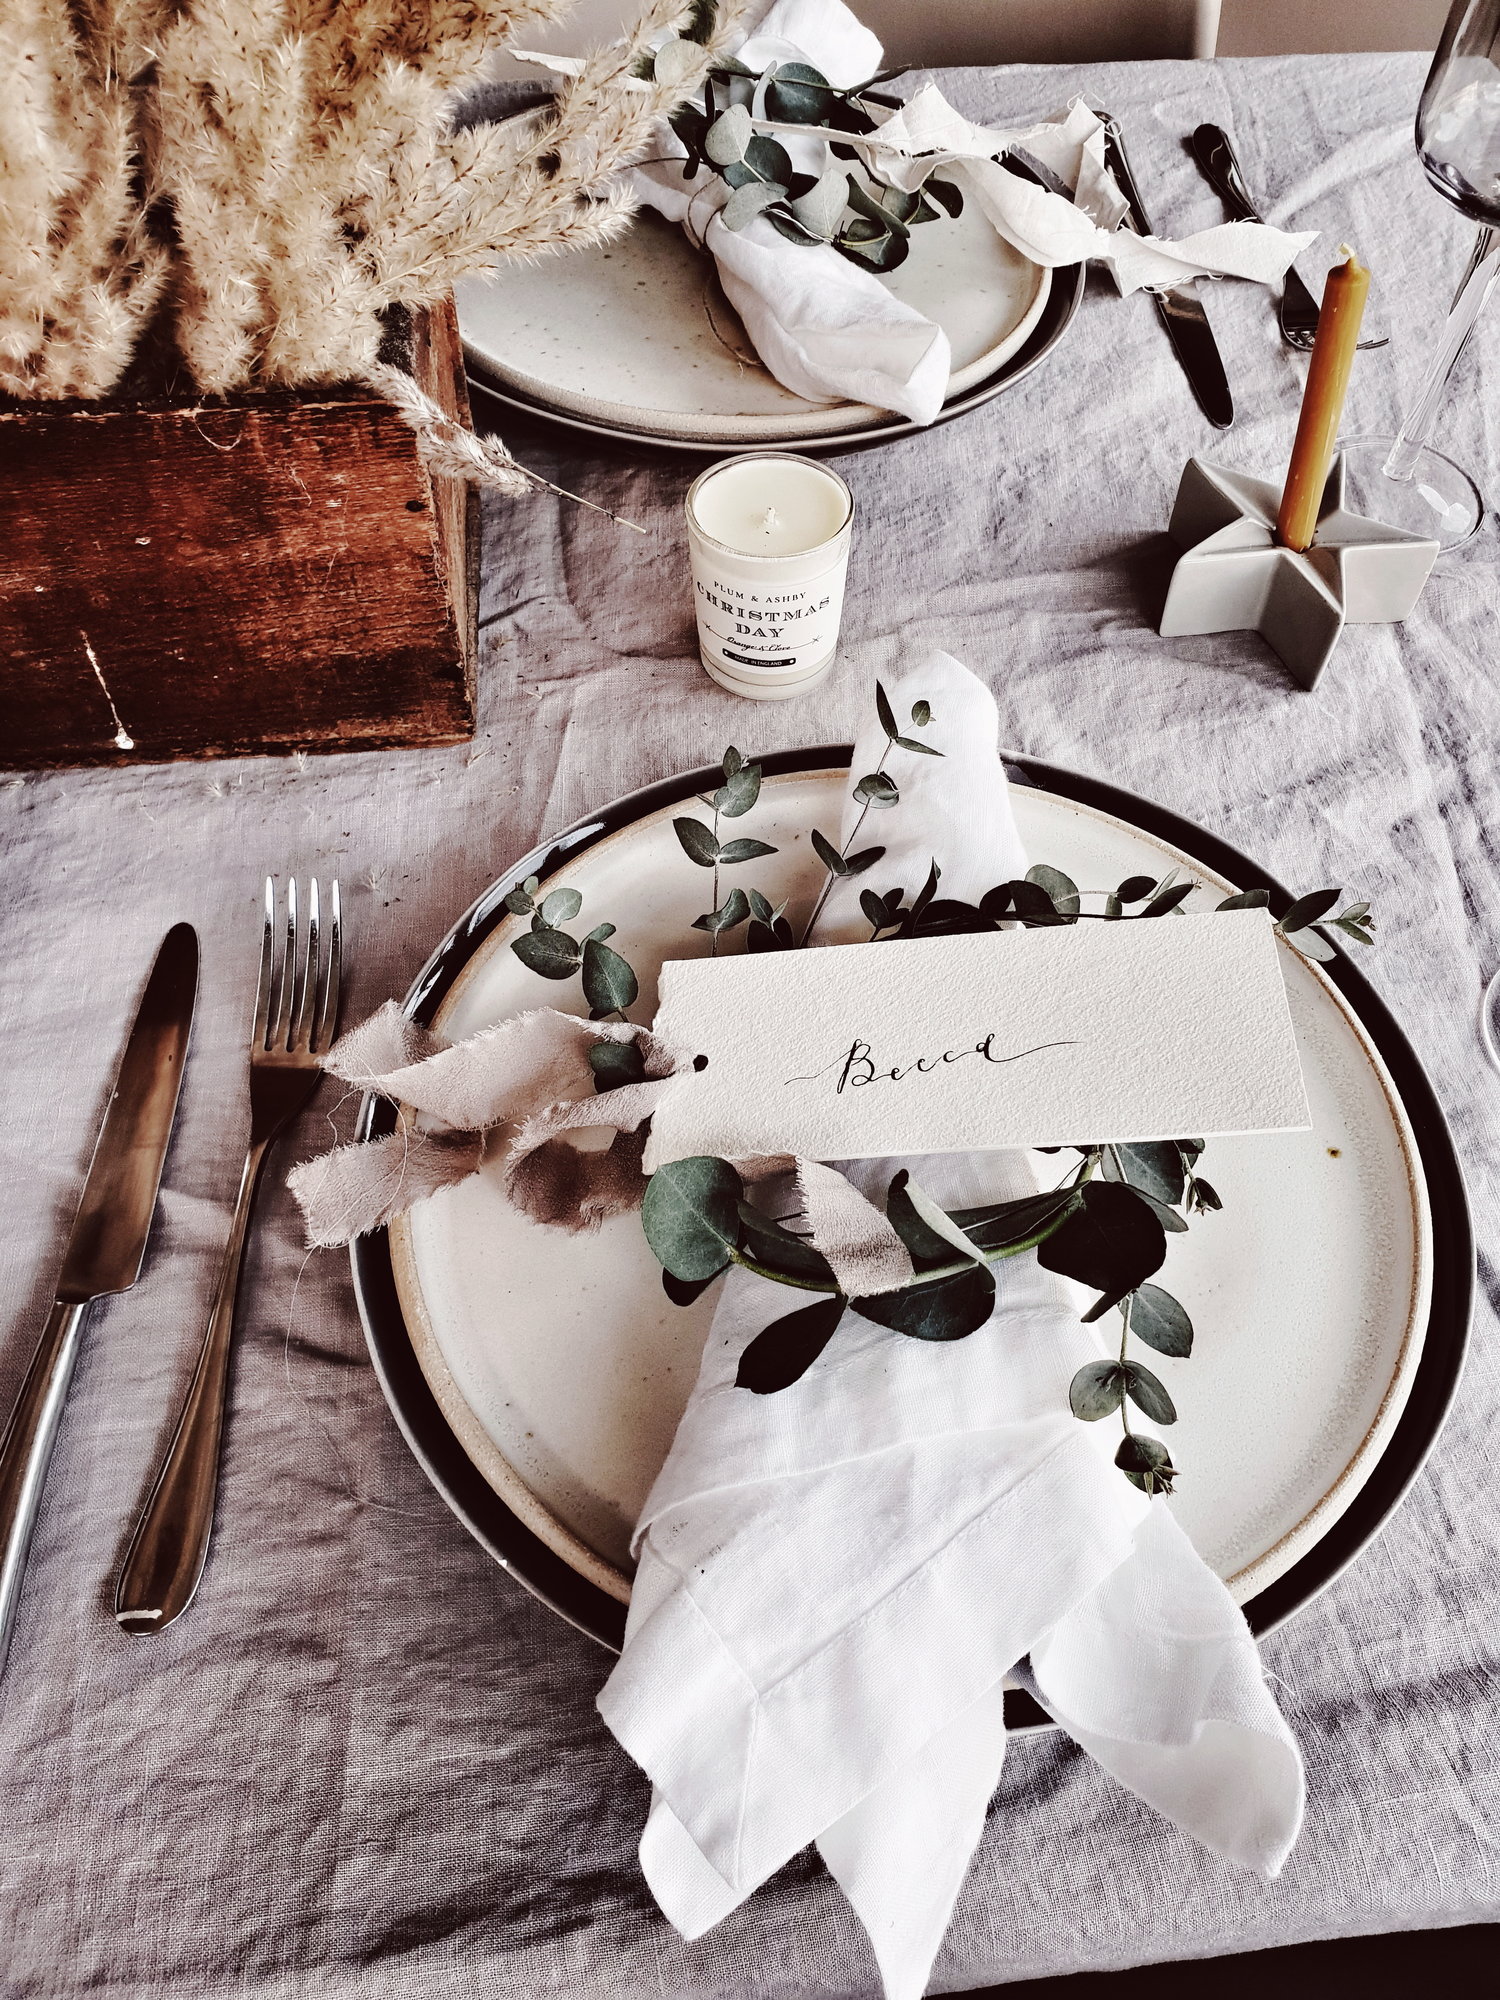
We used a dark grey linen tablecloth kindly loaned to us by Chalk Pink Linen for the base of our table along with some of their lovely crisp fresh white linen napkins. They also do all of their linen in a gorgeous dove grey which I used when I styled my table at home. For our tableware we used earthy ceramic plates and beakers in muted neutral colours from Igigi General Store and then added interest to the table with some simple Scandi candle holders in the shape of stars from The King and I and for a tiny touch of twinkle some vintage crystal ones from Hellish Designs. We added a bit of Nordic drama to the table with our dramatic pampas table centrepiece and hula chandeliers.
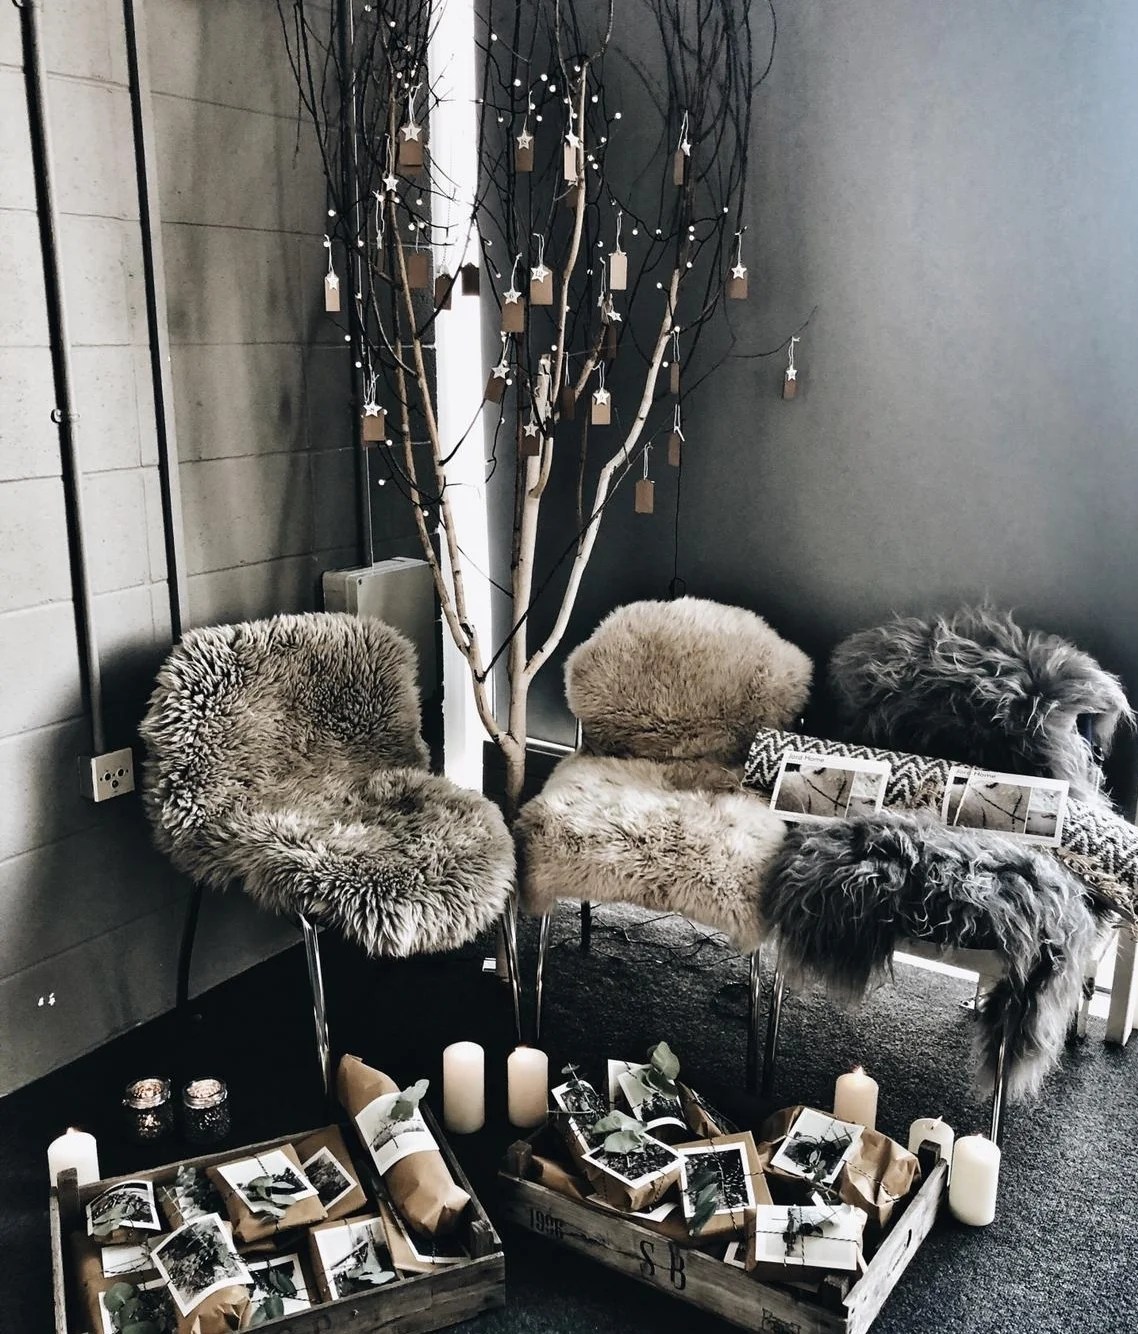
After feasting on Bronuts from Norahs Brownies (it turns out that combining two of my favourite cakes together creates a third cake I like even more) our work shoppers went home with a luxury botanical candle from Join London which are hand poured in Jen’s South-East London riverside studio and use only natural ingredients. If you were not able to come along on the day but would like to create a similar modern rustic look for Christmas table then read on and find out how to use chicken wire, a hula hoop and fencing wire to create a Nordic Noel.
Make your own rustic advent chandelier

What you need: One hula hoop, approx 1 metre of linen or hessian, masking tape, florists wire, mixture of faux and real foliage of your choice
Ok so you maybe reading this think a chandelier?? I thought she said this was going to be full of affordable ideas not looks to steal from the Palace of Versaille. But bear with me because the chandeliers in question are made using the humble hula hoop. I sourced mine off E-Bay for about £3 but charity shops often have them too. To cover them I used natural linen but a cheaper alternative would be to use hessian which is roughly £5 a metre.
Start by cutting the hessian into 10cm wide strips. Either tie on to the hula hoop or, for a neater look you can use masking tape to secure it in place. Wrap the strips around the hoop until it is fully covered, this is your base. The next step is to wrap a foliage garland around the hoop securing using florists wire. I used a simple garland made by Parlane that cost me £8. Depending upon how dramatic you want your hoop to look tie on mixture of faux and natural foliage (eucalyptus is good as it looks fine even when dried). I wanted mine to have a bit of drama so i tied springs of eucalyptus on pointing downwards using florists wire. Finally, cut four lengths of twine (mine were about 60cms long but it depends on the ceiling height you are working with) and tie each length on about 30cm apart around the hoop.
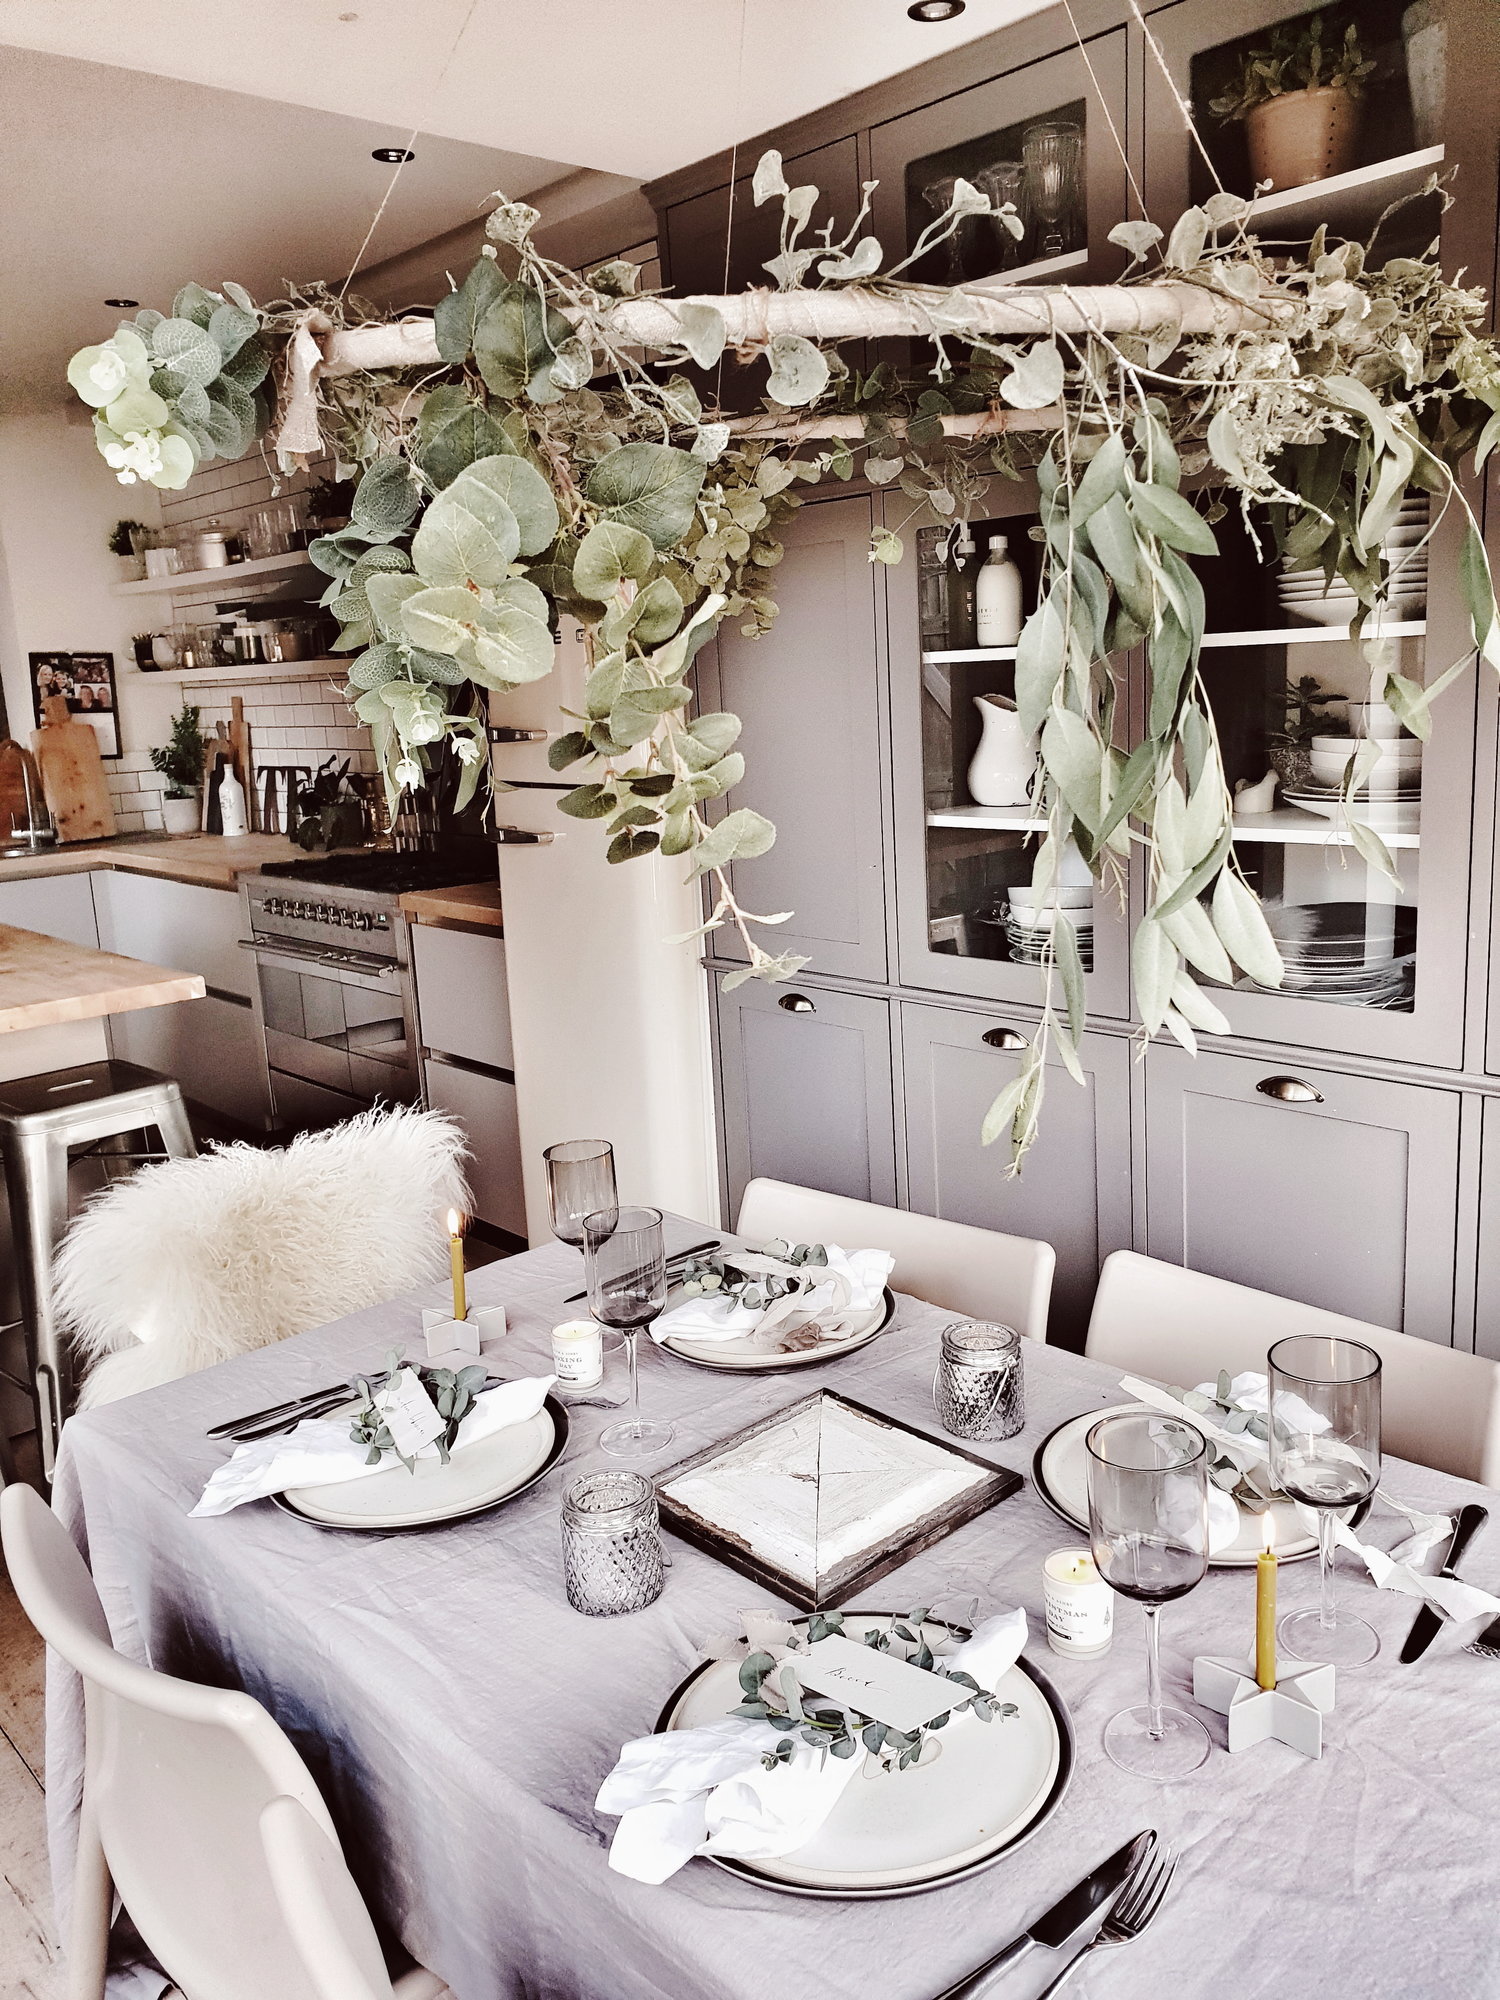
Once you have completed all of those steps, all you need to do is find a way to suspend it from your ceiling. I got Mr Malmo to screw a small hook in (I think I made this request after he had a couple of beers as screwing things into plasterboard usually sets off his ‘no fucking way’ alarm). You could equally just use command hooks if you are willing to accept hat at some point in December they may lose their stick and deposit a chandelier on your crackers.
Pampas Grass Table Centrepiece

What you need: 30cm x 20cm wooden box, chicken wire, pliers and 10-15 stems of pampas
grass
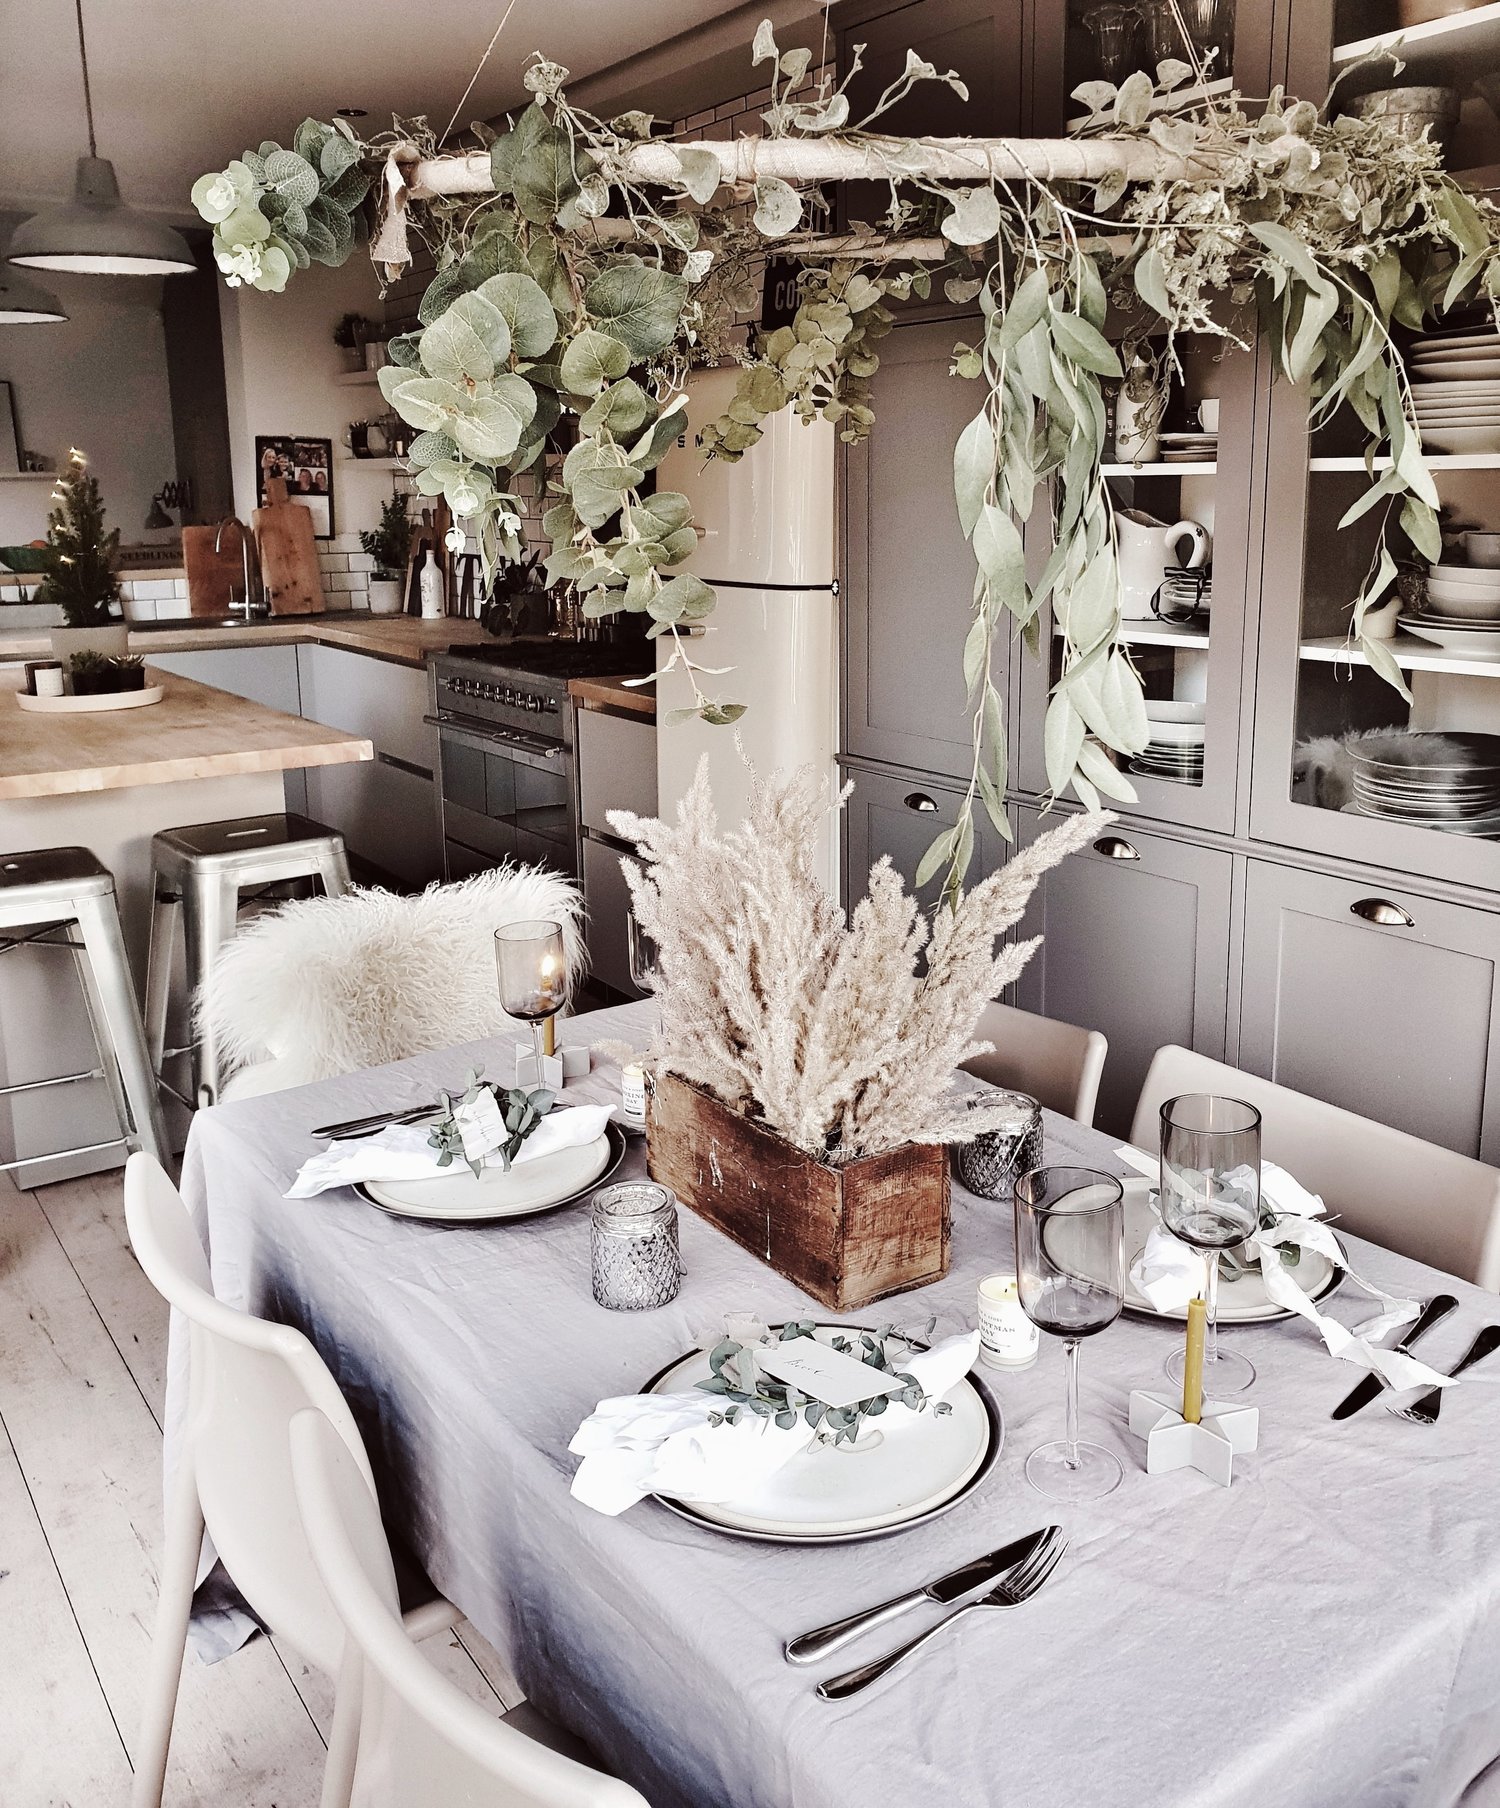
Pampas grass has been all over Instagram this year which either means swinging is having a big revival or that there is a massive trend towards using natural dried grasses in floral arrangements. I am really hoping it is the latter as I don’t fancy throwing my car keys in a bowl and going soixante neuf with my 86 yr old neighbour George who last possessed his own teeth sometime around 1987 and favours using an outside toilet. I have seen some great ideas for using pampas in your home, from creating a stunning hanging installation (check out the account of Signe Bay for inspo) to the vintage box that I have gone with.
Because the scale of the venue at our Hygge for all Seasons workshop was big with high ceilings we were able to go a bit more dramatic creating lots of height with a vintage Canadian Dry box (which I am careful never to leave Reena alone in a room with in case she disappears off into the modern rustic mist with it). However back home I used a smaller box I picked up for £10 from Sunbury antiques and a bit less grass to create a slightly pared back version. My box was about 30-40cm long and 20cm wide. If you are struggling to source a vintage one then H&M Home also have some similar size ones with a rustic look to them. All you need apart from the box is some chicken wire, pliers and a bunch of pampas grass. I got my chicken wire online (which am fairly sure may have placed me on some sort of Interpol list) but you can also source from pet shops.


Cut a roll of wire that will fit inside of your box (maybe wear gardening gloves to do so as I emerged from my skirmish with it looking like someone who had stuck their arm in a holly bush). Then basically just poke your pampas grass into the holes in the chicken wire in a manner that creates an arrangement you are happy with! If you have you mother-in-law
coming round for Christmas lunch and want to avoid making chit-chat with her about Barry from her Bridge group’s prostate then leave the stalks long. But if not maybe cut them to a more conversation friendly level of about 30cm. You may want to be careful about how closely you position it to candles as pampas is right up there with a shell suit in terms of flammability.
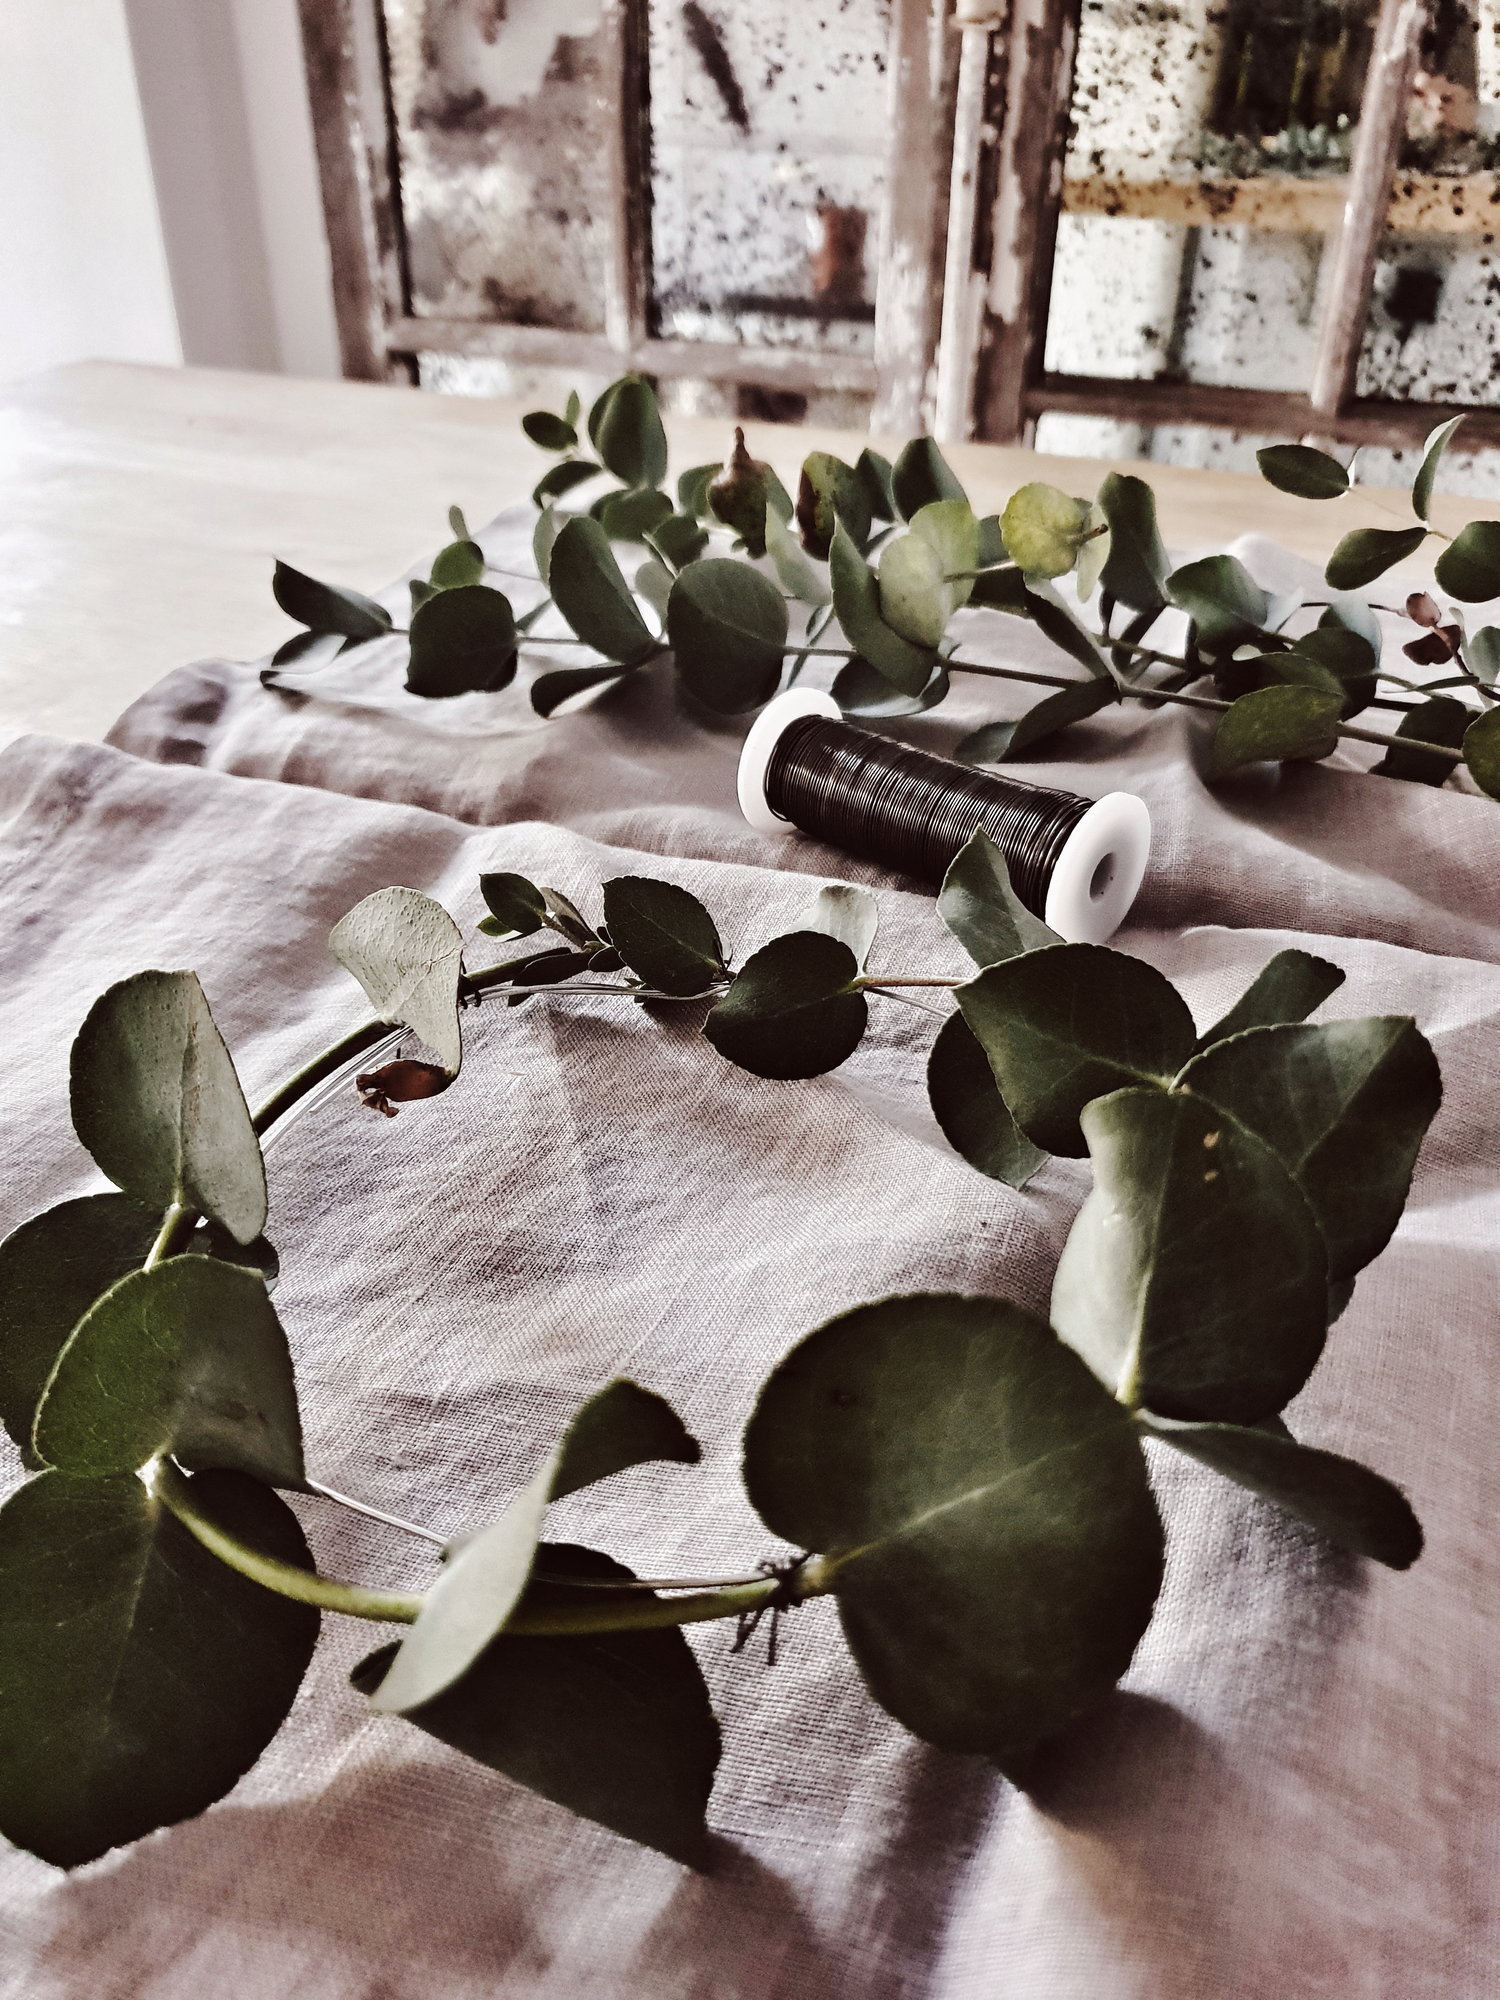
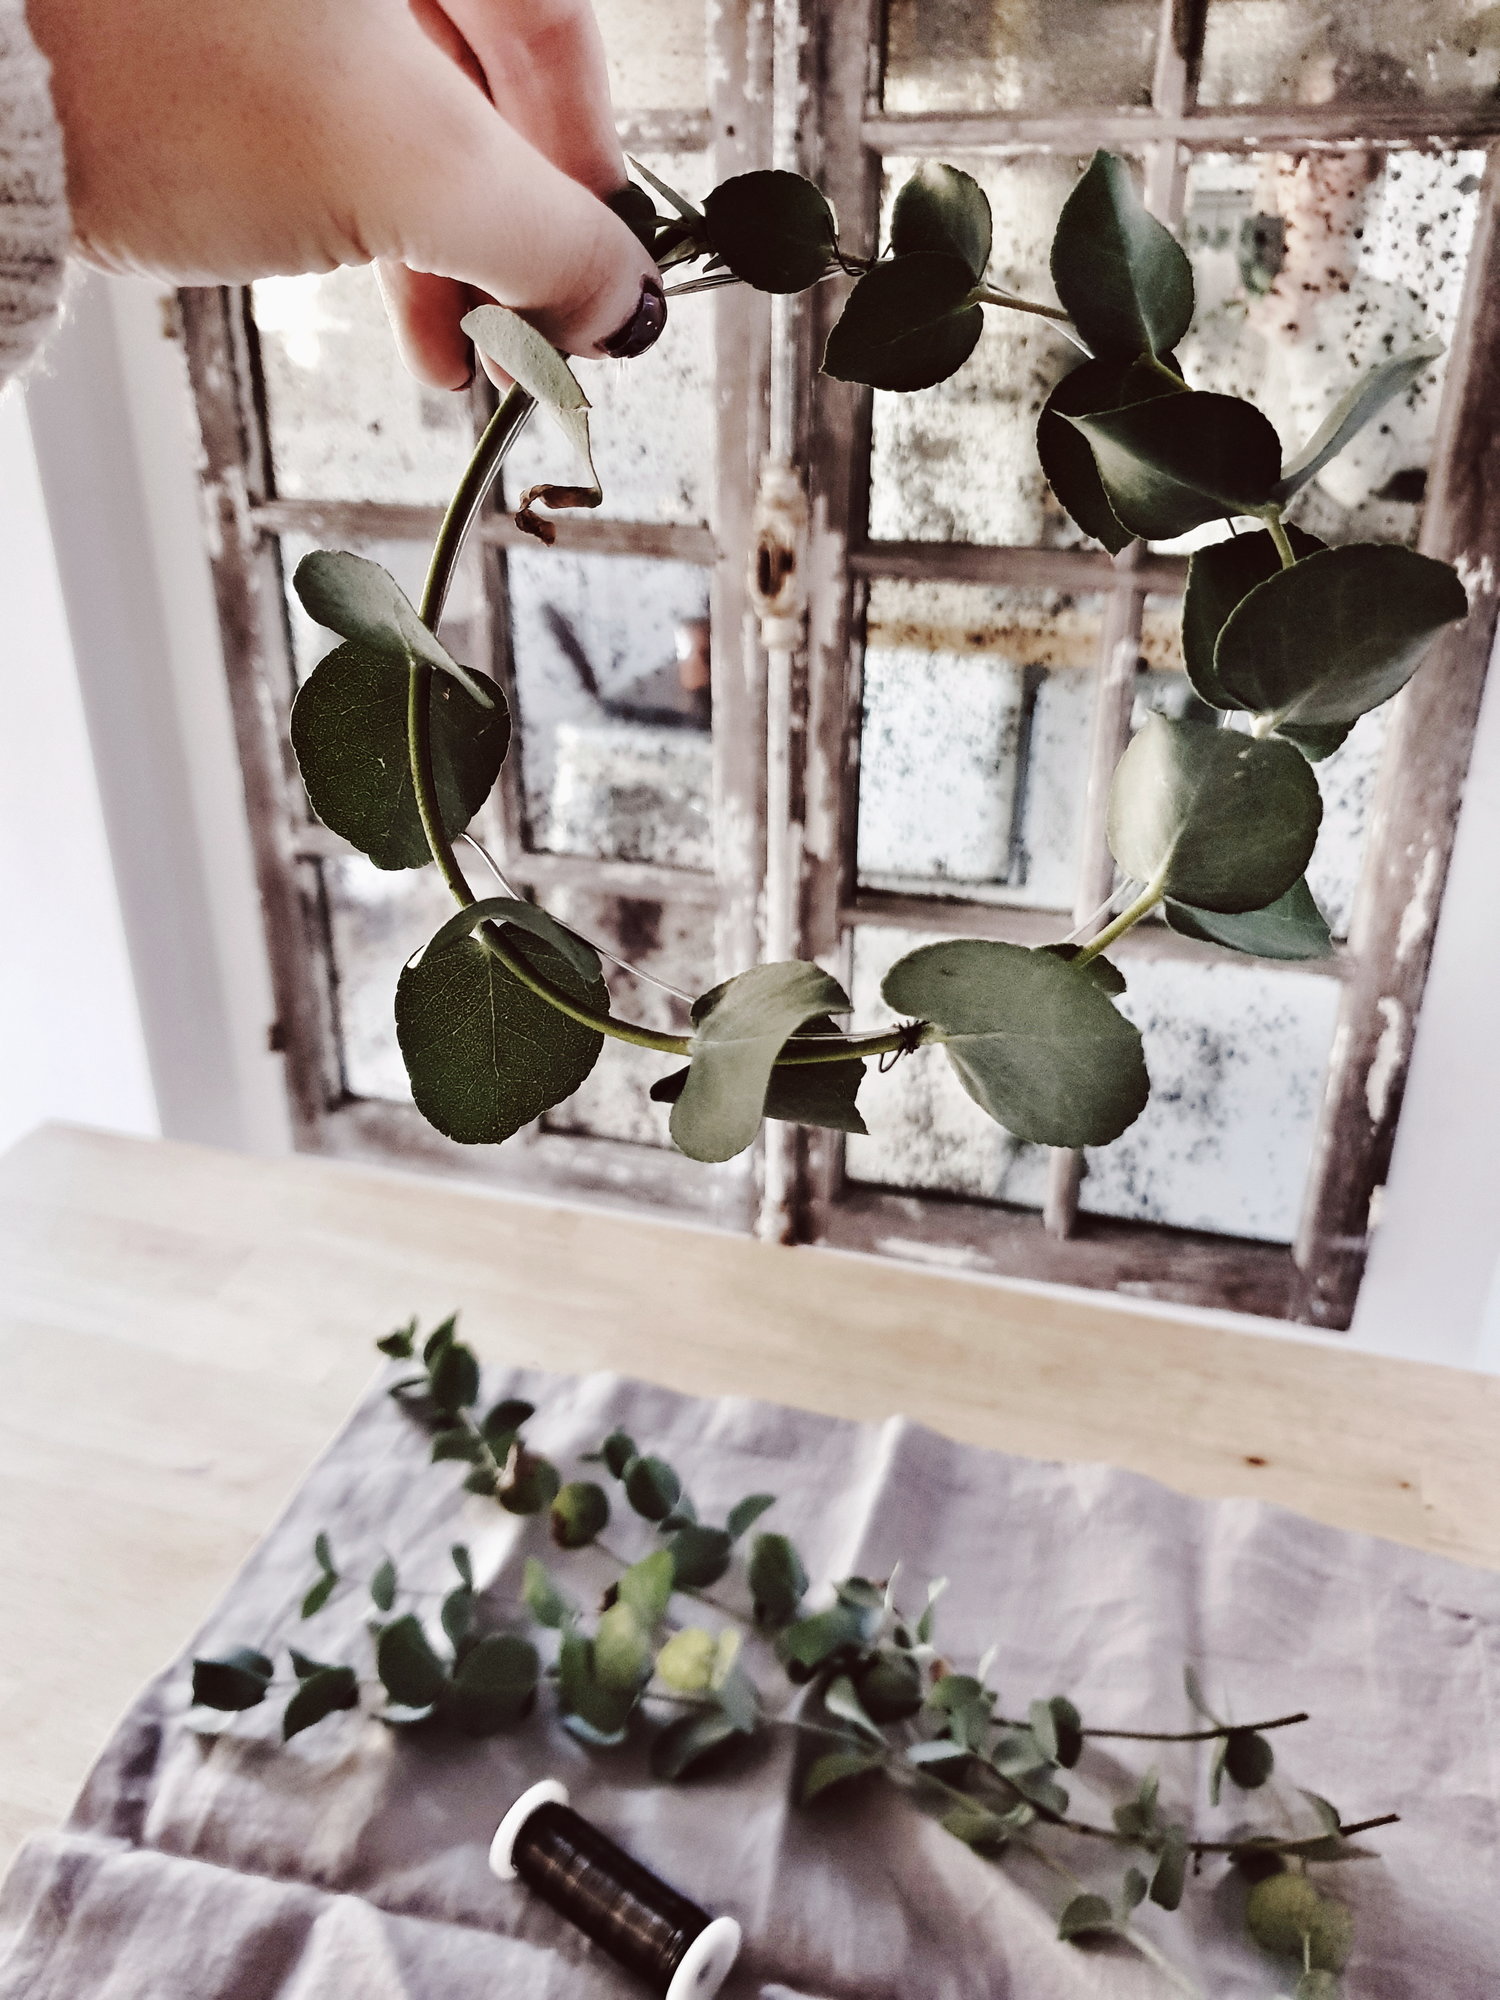
Mini Eucalyptus Wreaths

What you need: Eucalyptus, wire and floristry wire.
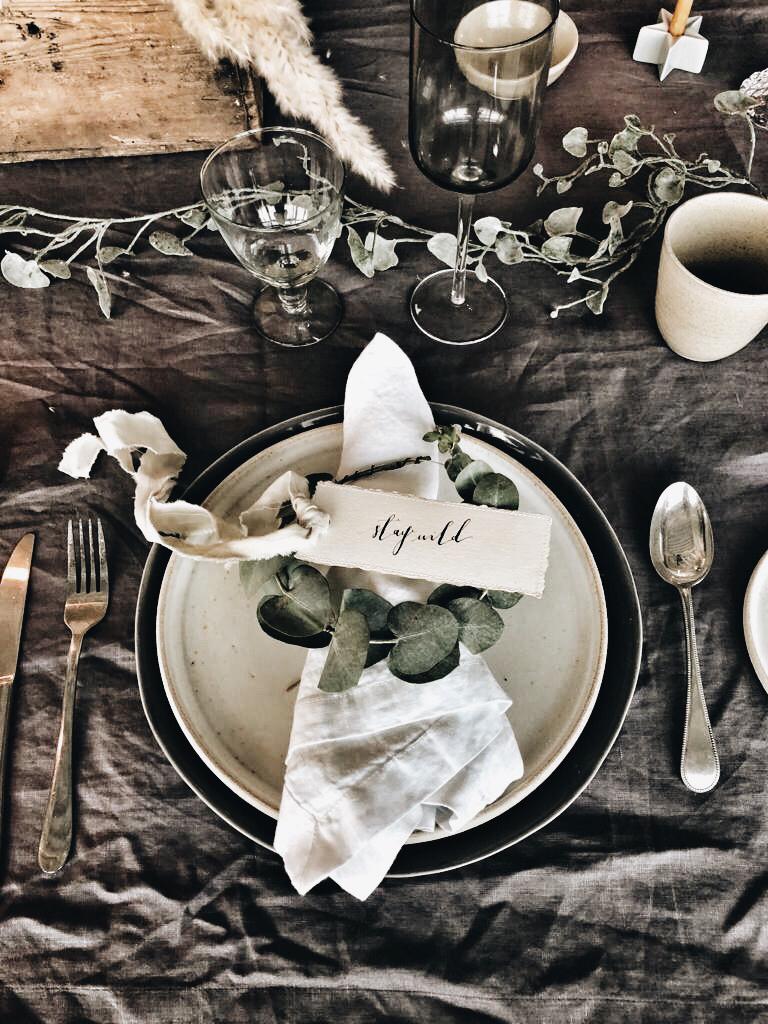
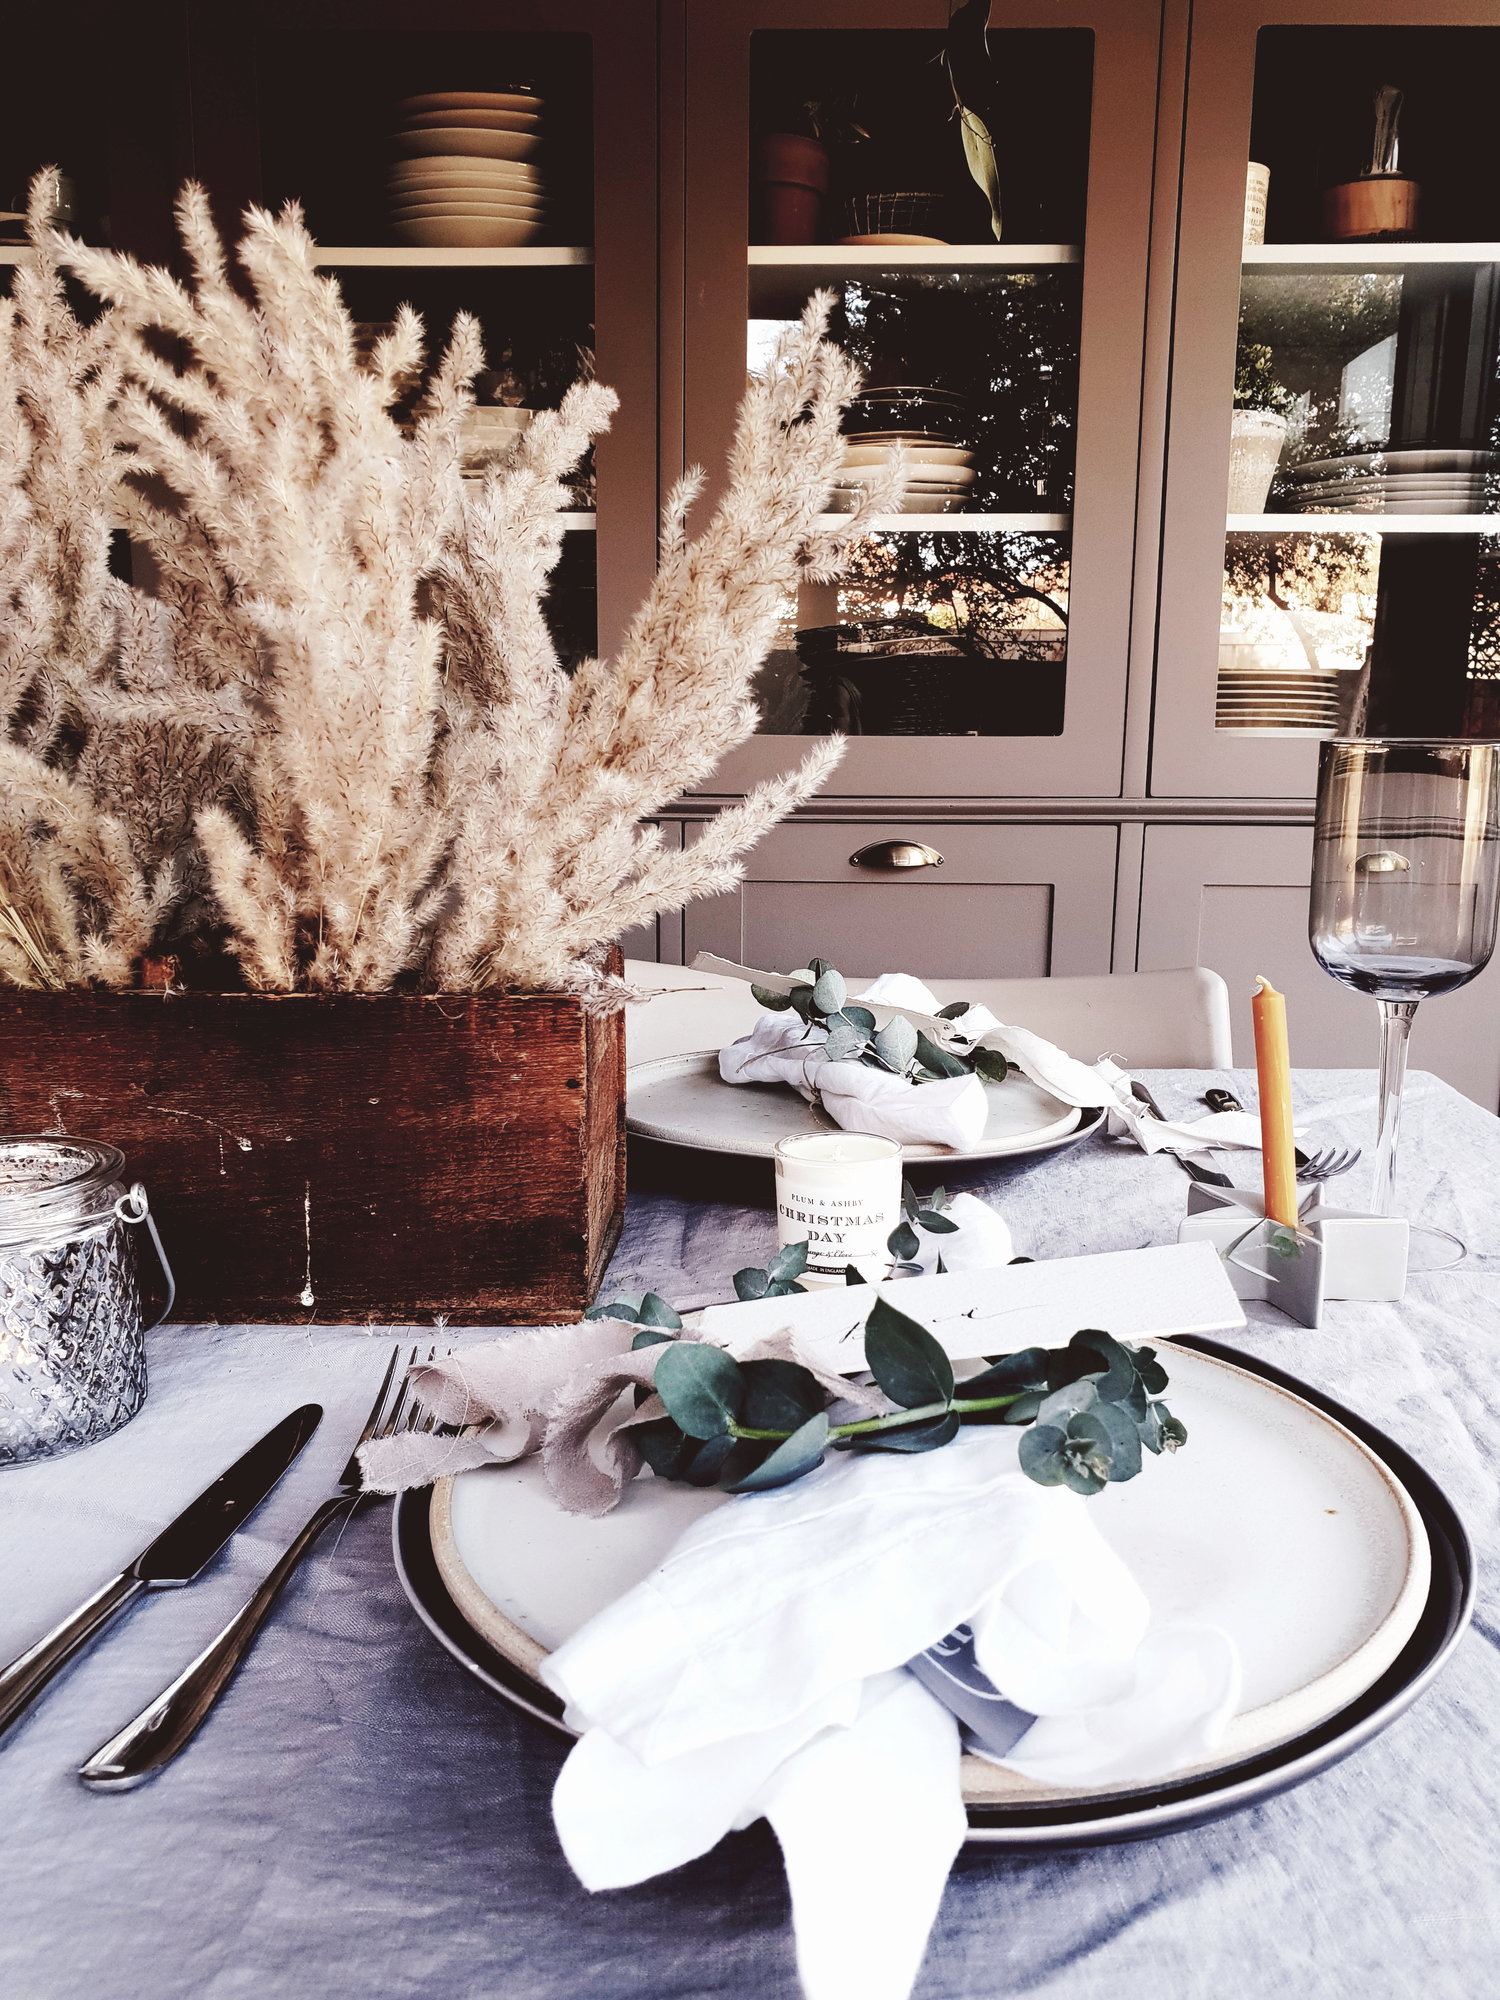
To add some greenery into our Christmas table we made mini eucalyptus wreaths which acted as a backdrop to beautiful calligraphy Christmas labels from Oysterbridge Co. Our original idea was to make mini rosemary wreaths having seen them on Pinterest. I don’t know if it was because my supermarket rosemary was just too short but 45 minutes into my miniature wreath making all I had was a herb heavy lap and a sprig of rosemary bolder than
Kim Kardashian’s bikini line tied in a circle. So I went back to the drawing board, rejected the rosemary and turned to the far more pliable eucalyptus instead. The wire helps to create structure and it means you can secure the foliage in place using floristry wire. You can make them as big or as small as you like in terms of the size of the hoop (this idea would equally work to make hoops to hang on a wall as the wire is quite sturdy). And you can go simple or more dramatic in terms of how much foliage you add. We kept ours quite simple because we were putting the labels on top and didn’t want to detract from them. The mini wreaths will also make your Christmas table smell amazing.

We would like to say a huge thank you to all of the brands we have mentioned above that provided gifts for our work shoppers and items to use for our table styling. And lastly we would like to thank the 31 lovely people who came along to Hygge for all Seasons in November and made it so much fun. We have loved seeing how people have incorporated the ideas from the workshop into their Christmas decor already.


